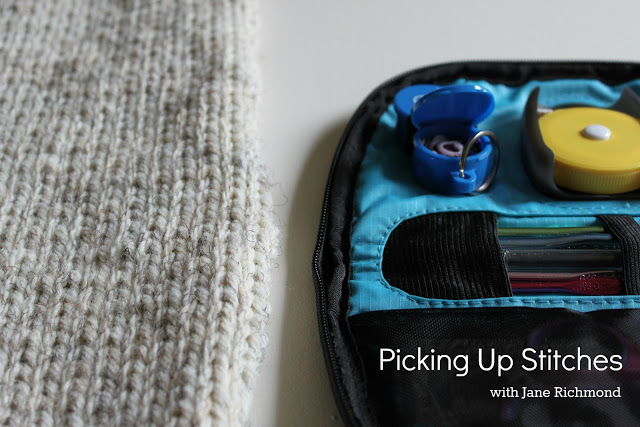
Picking Up Stitches Tutorial with Guest Jane Richmond
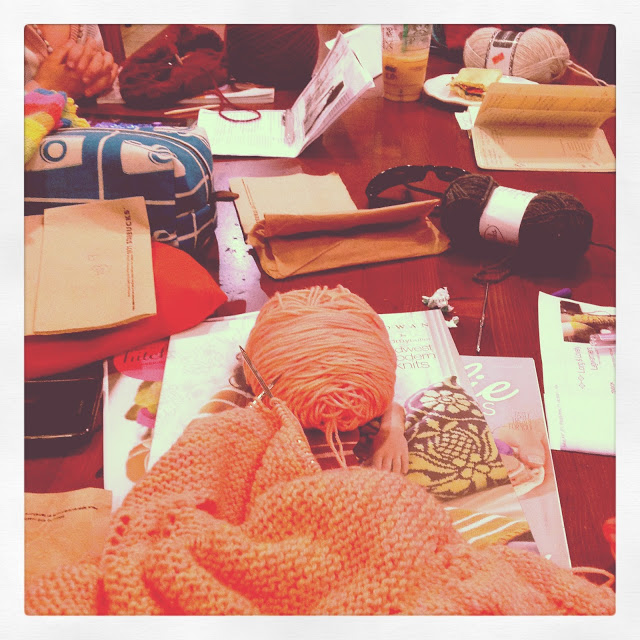 |
| a pic of one of our knit nights |
 |
| see all the ribbing? i had to pick that all up!!! talk about my worst nightmare...lol!! |
ready to pick up some stitches? let's all hear from jane....
One technique that seems to give some knitters grief is the task of picking up stitches. I know for a fact it's one of Shannon's least favorite things to do. I happen to love picking up stitches and take great pride in a job well done. When Shannon is stuck with a floppy buttonband, instructions that are too vague or faced with an enormous amount of stitches to pick up, I'm always happy to help and we sit down and work it out properly. With a little forethought and preparation, picking up stitches can be painless and easy. Here are the steps to pick up perfectly the first time.
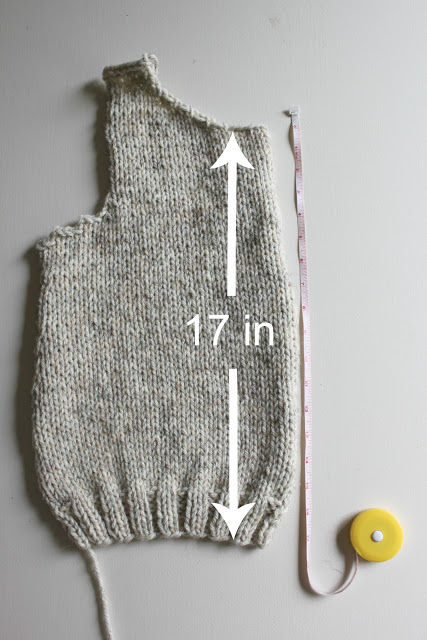
Measure the Length
You'll need to determine the length of the edge to pick up along. In this case we will be picking up for a buttonband, our edge measures 17 inches.
Determine your Gauge
If a pattern is not specific on how many stitches to pick up, or gives you a general guide line (ie. pick up 2 stitches for every 3 rows) you can easily determine how many stitches will give you a nice flat buttonband that does not pull in or sag. You'll need to determine your gauge by measuring the pattern stitch to be used. In this case we want to knit our buttonband in 2 x 2 ribbing to match the hem and can easily measure the ribbing along the bottom of the sweater. It is very important to stretch out the ribbing when measuring so that it lays flat rather than pulling in as ribbing naturally wants to do.
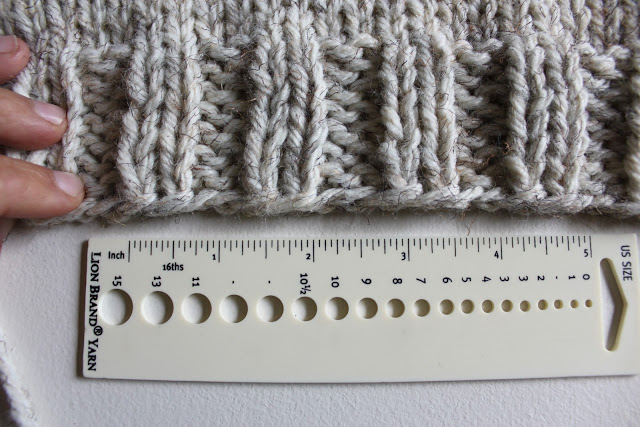
Calculate Stitches to Pick Up
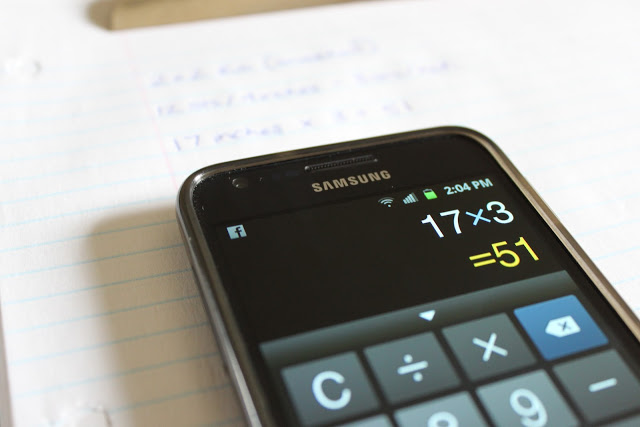
Once you've determined your gauge and the length that you will be picking up along, you can determine how many stitches need to be picked up. In this case, our 2 x 2 ribbing measures 3 stitches per inch when stretched flat. Multiply by the length of the edge and you'll have the number of stitches to pick up, in this case
17 x 3 = 51
Because we are working in 2 x 2 rib our number needs to be divisible by 2, in this case I've rounded up to 52 stitches.
Divide Edge in Half
Now that you have determined that 52 stitches need to be picked up along your edge, take the time to divide the edge into at least 4 sections. In this example I've used chunky yarn, if you are using much thinner yarn or your edge is very long I highly recommend breaking it up even further.
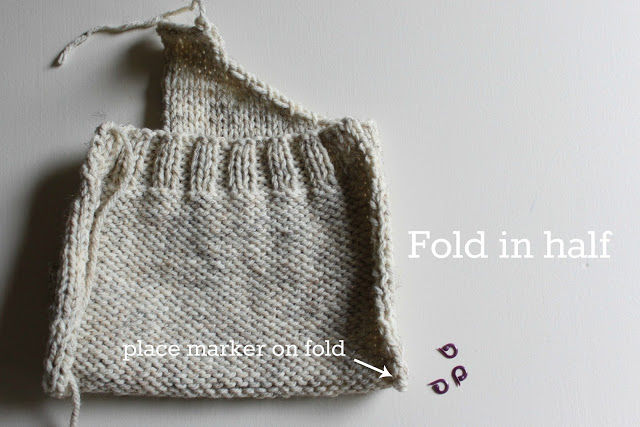
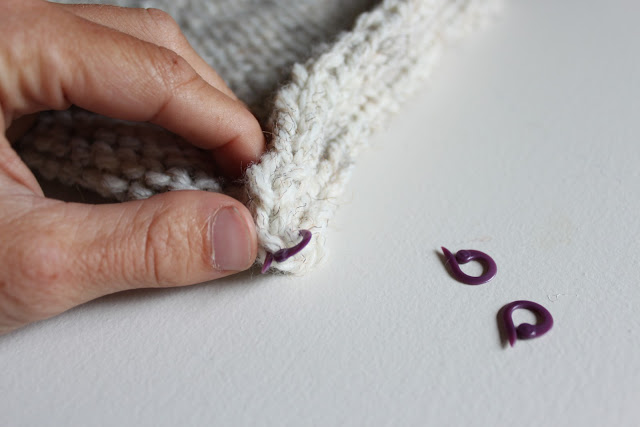
Once you've found the halfway point of your edge place a marker on the fold.
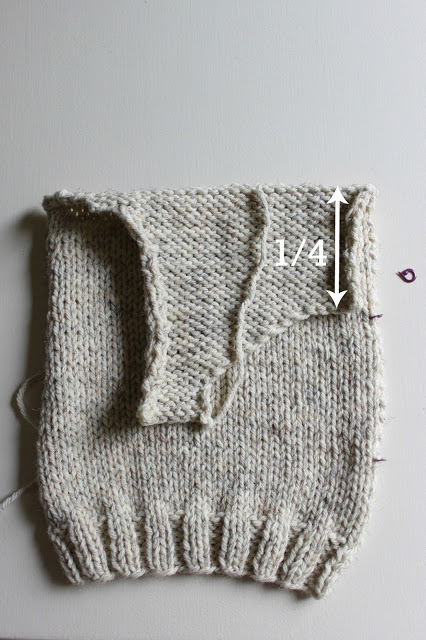
Divide Edge into Quarters
Using your halfway marker to guide you, fold your bottom half in half to determine where to place the 1/4 marker.
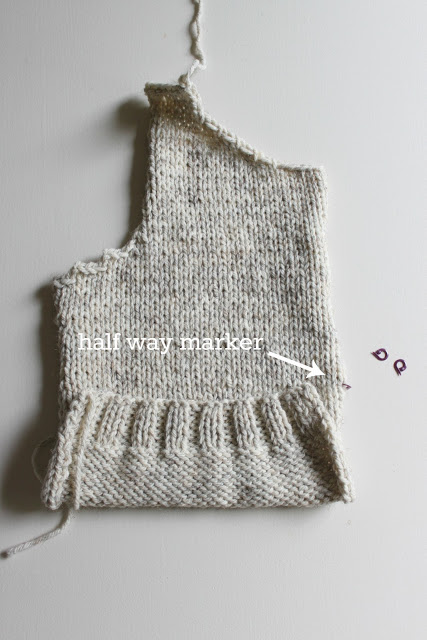
Do the same with the top half.
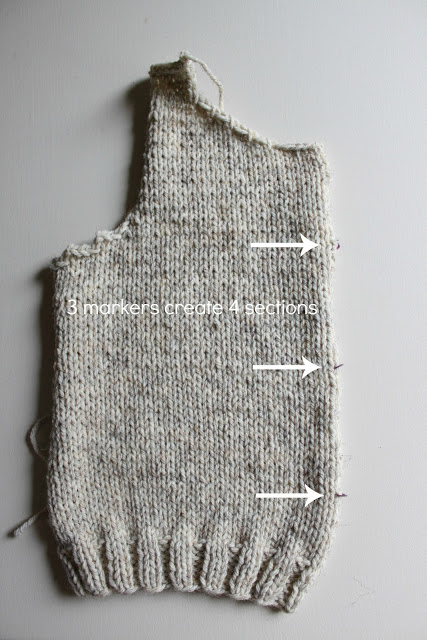
The result is 3 markers dividing your edge into 4 different section.
Calculate Stitches per Quarter
Your final calculation is simply to determine how many stitches to pick up within each quarter section.
52 / 4 = 13
We now know that we will need to pick up 13 stitches per section.
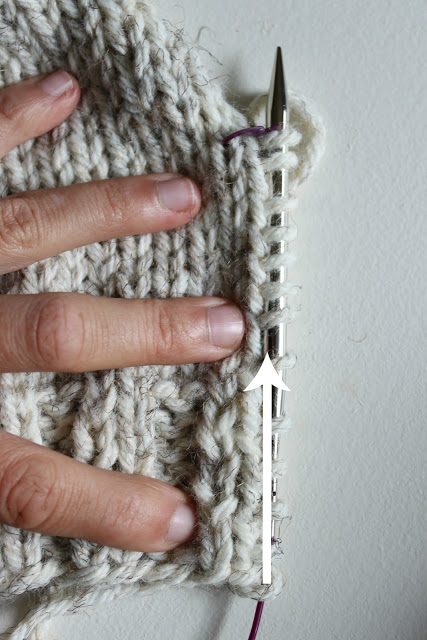
Pick Up Properly
The key to perfectly picked up stitches is making sure that you pick up in a straight line. Decide where to pick up based on the project. If you are working in a lighter yarn such as DK or fingering you may wish to use an entire stitch as your selvage, this results in a cleaner line. In this case, using chunky yarn, I've decided to only use half a stitch as my selvage to minimize bulk on the wrong side. Be sure to stop every so often and make sure you are staying true to the line you're picking up along.
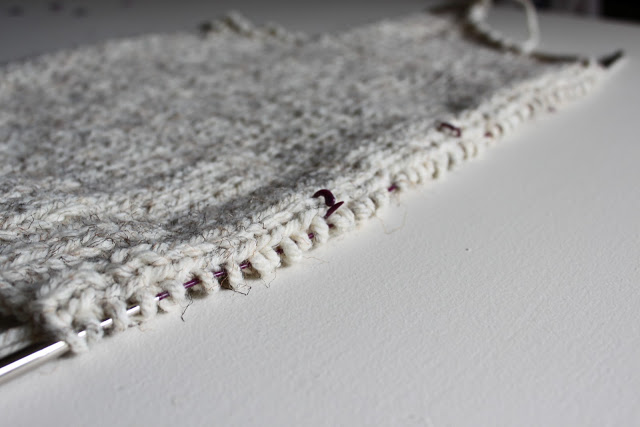
If you leave the markers in as you go it's easier to rip back to correct stitches that have been picked up out of line without having to recount the entire row.
Bind Off Evenly
Take the time to bind off evenly. Don't rush through a bind off especially on banding, it makes all the difference in the world if you keep your tension nice and even.
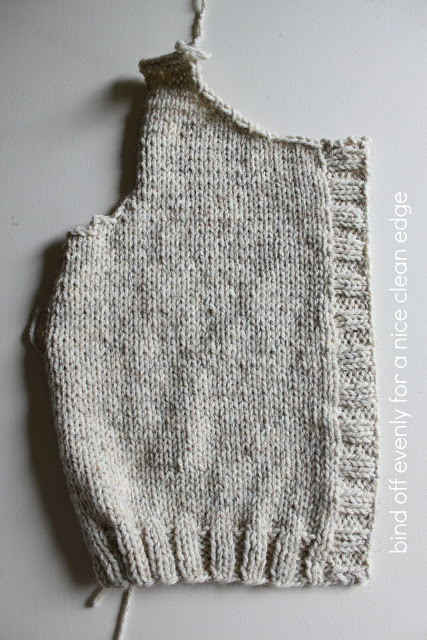
Use the Right Tension
You would be amazed and how important the tension of your bind off can be when working on edges and collars. If an edge is bound off too loosely it can make an otherwise perfect band look sloppy and poorly done. Take the time to redo your bind off if you've bound off too loosely. You'll be happy you did.
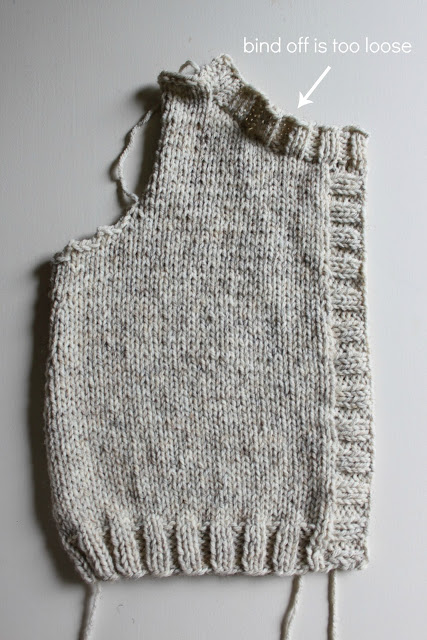

The same applies for bands that are bound off too tightly. A collar bound off too tightly can render a pullover unwearable. An excellent way to bind off loosely and maintain an even tension is to use a larger needle to bind off the stitches. If your collar is still too tight try a stretchier bind off such as a sewn bind off.
I hope you've enjoyed my tutorial and that it makes your knitting experience more enjoyable! Happy Knitting!
you can find all things jane richmond here:

thank you so much jane! ahhhmazing tutorial! luv ya girlie! this post of jane's is going to be a lifesaver for me and i hope it helps all of you as well. do you have a dislike for picking up stitches or do you looove it? let's chat stitches m'dears! and don't forget to link up your summer sweater knit along blog post in our linky party below....
you can follow along with all things summer sweater knit along:
and a big thank you to our wonderful sponsors! thanks everyone!


additional sponsors:
join our linky party by linking up your "summer sweater kal" blog post!