
Who says wristwarmers or fingerless gloves need to be knit? I've been knitting a few pairs of wristwarmers/fingerless gloves (whatever you like to call them) for xmas pressies and the other day I got to thinking that it would be way faster to just sew a pair up. So this sleep deprived mama said to heck with all the other items on my to do list it's time for a tutorial!

If you follow me on facebook or read yesterday's post you know I fought and I mean fought for the light to take the pics of these sewn wristwarmers. I had to wait until 2:30 or so again and then mad woman dashed around the house sweating and sewing and racing around to get at least a few decent shots for you folks. So bear with me if the pics are not my best shots ever, I hope they at least get the message across. Please feel free to ask me any questions in the comments or to email questions my way. I'm more than happy to clarify any oopsies I may have made in my lack of sleep and over caffeinated haze :)

Sew Comfy Wristwarmers Tutorial:
Materials:
- Fabric approximately 22"L x 12"W for wristwarmers outer lining. I used flannel. Make sure your fabric is pre-washed and shrunk before starting project, it sucks to have to do this, but it's very important.
- Fabric for wristwarmer inner lining approximately 22"L x 12"W. I used an old t-shirt.
- Any supplies you would like to use to snazz up or personalize your wristwarmers.
-needle and thread
-scissors
*All seam allowances 1/2"
**Copyright 2010 www.luvinthemommyhood.com
All rights reserved. For personal use only. Please do not sell items made from this tutorial, it's bad karma :)
1. Download and print the pattern template for the wristwarmer. Adjust width or length as necessary for your arm/hand size.
Bottom Wrist Warmers
Top Wrist Warmers
If you choose not to print the pattern piece out here's another way for you to all whip one up as well:
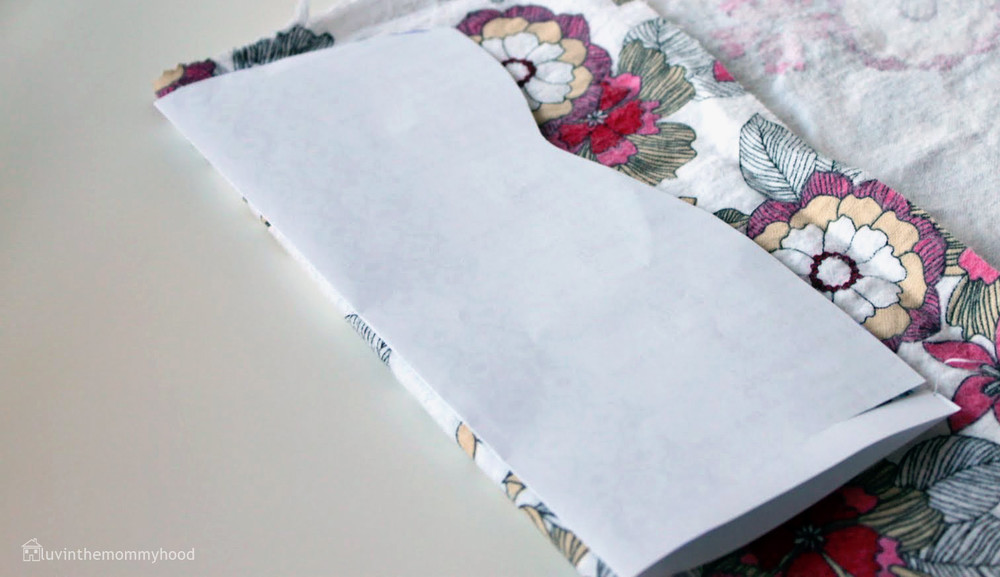
1. Using a knit wristwarmer as a guide for shape, trace the outline on a piece of paper and then flip the wristwarmer to the right and continue tracing. Doing this makes an open version (unseamed) of your knit wristwarmer. This will be your starting guide. From this shape add at least 2 inches all around to make up for the lack of stretch in your outer lining fabric. Mine was about 9 inches wide at the bottom and tapered in smaller at the top. See the picture above & blelow as an example. Where the fabric curves in is approximately where your wrist will go. Remember the top part should be a smaller width than the bottom as your hand (width of your 4 fingers - not your thumb base) is not as big as your forearm.

2. Pin template to your fabric placing pattern piece fold along the fabric fold edge. Cut out 2 of these using your outer fabric. Cut out 2 more of these with your lining fabric. I used flannel for my outer (oooohhh comfy) and a soft t-shirt for the lining.


3. Pin the outers to the inners with right sides facing each other. Imagine the nice print of your fabric kissing the nice soft side of your cotton t-shirt. You should have two wristwarmers pinned and ready to go visit your machine :)
4. Sew all four sides using a zig zag stitch making sure to leave at least a 2" opening to pull your wristwarmer through later on. I used a zig zag stitch due to the fact that I used a stretch fabric and also because I wanted a little give in the glove area for my thumb to move around without ripping the seam open. Be patient with the sewing and be sure to pin well. The stretch moves a bit but if you hold it just right and don't pull or stretch the t-shirt material while sewing they match up quite nicely together.

5. Time to pretty it up. Trim your edges as close as you can get to your zig zag stitch without cutting it. Make sure to cut your corners as well so your edges are nice and pointy when turned right side out. Turn the wristwarmer right side out by pulling it through the 2" opening you left unsewn. Using a sharp object push out your corners and iron the wristwarmer nice and flat, then pin your opening shut. Using an invisible stitch hand sew the opening closed (ignore the fact that mine isn't in the pics below i was racing the light and was desperate to get my pics done).

6. Fold the wristwarmer in half with your outer fabric facing each other. Slip your arm inside and mark with a pic or fabric marker where you would like the opening for your thumb. You want to mark the base of your first finger sort of where the webbing of your thumb starts if you stick your thumb out sideways and also make a mark at the starting point of your wrist. *You will not be sewing this area. Pin the rest of the way down the wristwarmer and also pin the area between your first mark and the top of the wristwarmer. The areas that are pinned are where you will be sewing.
7. Bring the wristwarmer back to your machine and again using your zig zag stitch start sewing from the top of your wristwarmer down stopping at your first mark making sure to backstitch at the beginning and end of your seam a few times. This will help to make the seam nice and strong. You are going to be wearing these lovelies a lot :) This is a thick amount of fabric and it will feel weird at first to sew with this. Make sure you use an appropriate needle for your machine for the thickness and type of fabric you decide to use to make your wristwarmers. I had to tug mine a tad to get it going at first but it made it over the hump.
8. Starting at your 2nd mark sew again with a zig zag stitch down to the bottom of your wristwarmer again using a zig zag stitch. My wristwarmer is 9 1/2" L x 4"W when sewn up.
And then....
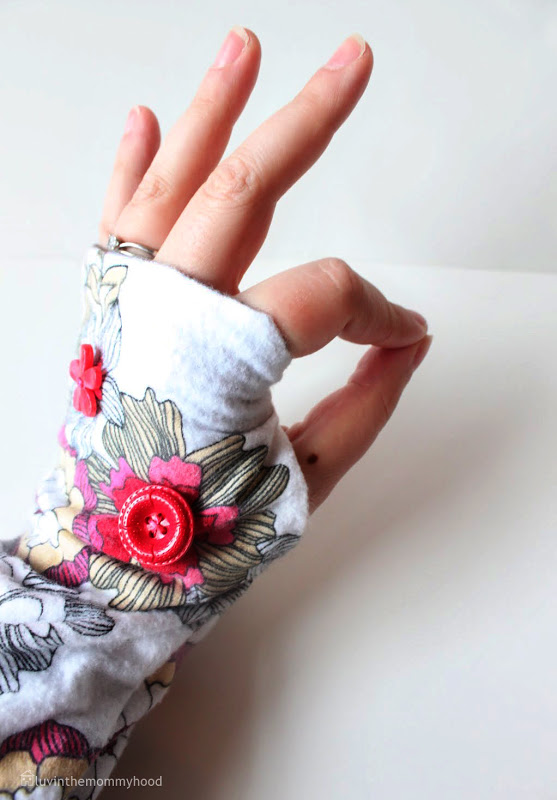
GOOD JOB! You're done! Yippee! Wasn't that soooo easy? Super fast and so much fun! I decided to add some buttons on to mine because, well....I love buttons. These wristwarmers are a great basic way to have a starting point to go all willy nilly with! Use your creativity! Make them reversible, or make them foldable to shorten the length sometimes. Add ruffles or applique. Embroider fun sayings on them or quilt them. Do patchwork with shapes or strips..heck the world is your oyester. All I know is that these have not come off since I made them. So comfy and warm for the winter months and even better when worn while sipping some yummy coffee or tea!

*Terms of use: This tutorial is for personal use only. Please do not sell items made from this tutorial - it's bad karma :) Thank you.*
Happy wristwarmer making! Hmmmm...I feel another Comfy Sews VS Cozy Knits coming on..haha. How about making one of our Infinity and Beyond Scarves to go with your fun new wristwarmers? Have you made sewn wristwarmers before? Come join our flickr group and show off your handmade goodies! Click here to join.