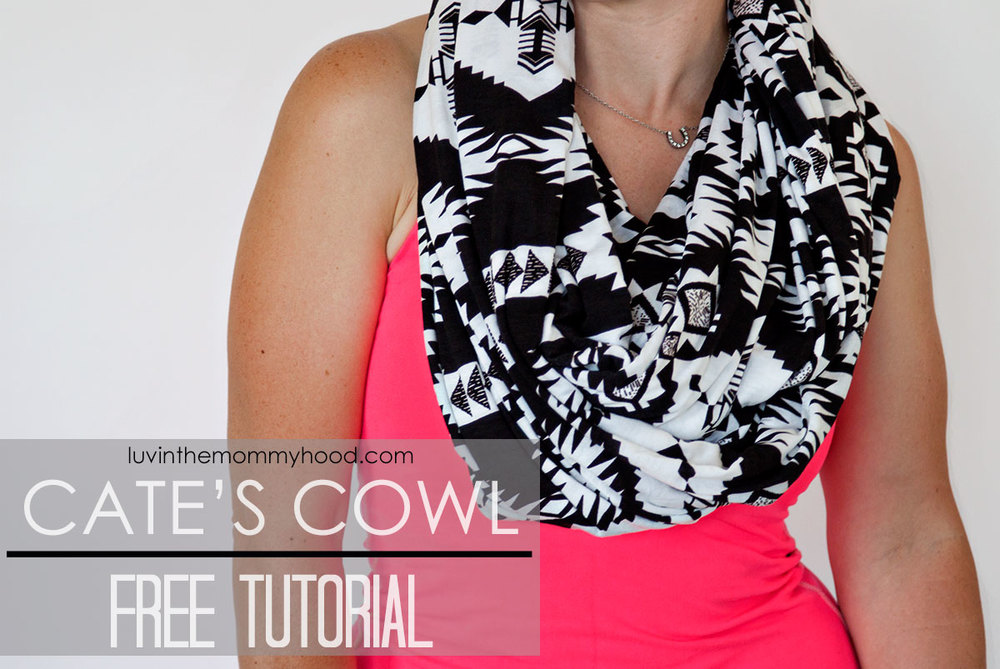
who's in the mood for a free tutorial? me! me! me! you're gonna love this one!
it was my bday in june and i splurged on some new workout outfits for myself and while shopping i came across a fabulous cowl that you could wear ruched or unruched - so fun!!! the cowl had channels running down either end of it allowing you to wear it in various styles. i was IN LOVE!

since then i haven't been able to stop thinking about it and with a hefty price tag i decided to just whip one up for myself. once done i realized that i had to share because i have been wearing this cowl non-stop. and i mean non stop. it's so comfy and soft and versatile and....well i could just go on and on but i'll save your from listening so you have more time to sew one up for yourself.
the cowl is named after my lovely and sweet friend cate who is ever so stylish and always has the best outfits/shoes on. i only wish i was her size so i could steal them all...lol.
she was shopping with me that day and i had to get her to model it for you as well! i hope you all enjoy it as much as i do! this cowl really is the perfect accessory. xmas is just around the corner too and it sews up fast! so if you've been scared of sewing with knits before now is the time to conquer it! this is a great project for practicing sewing with knits!
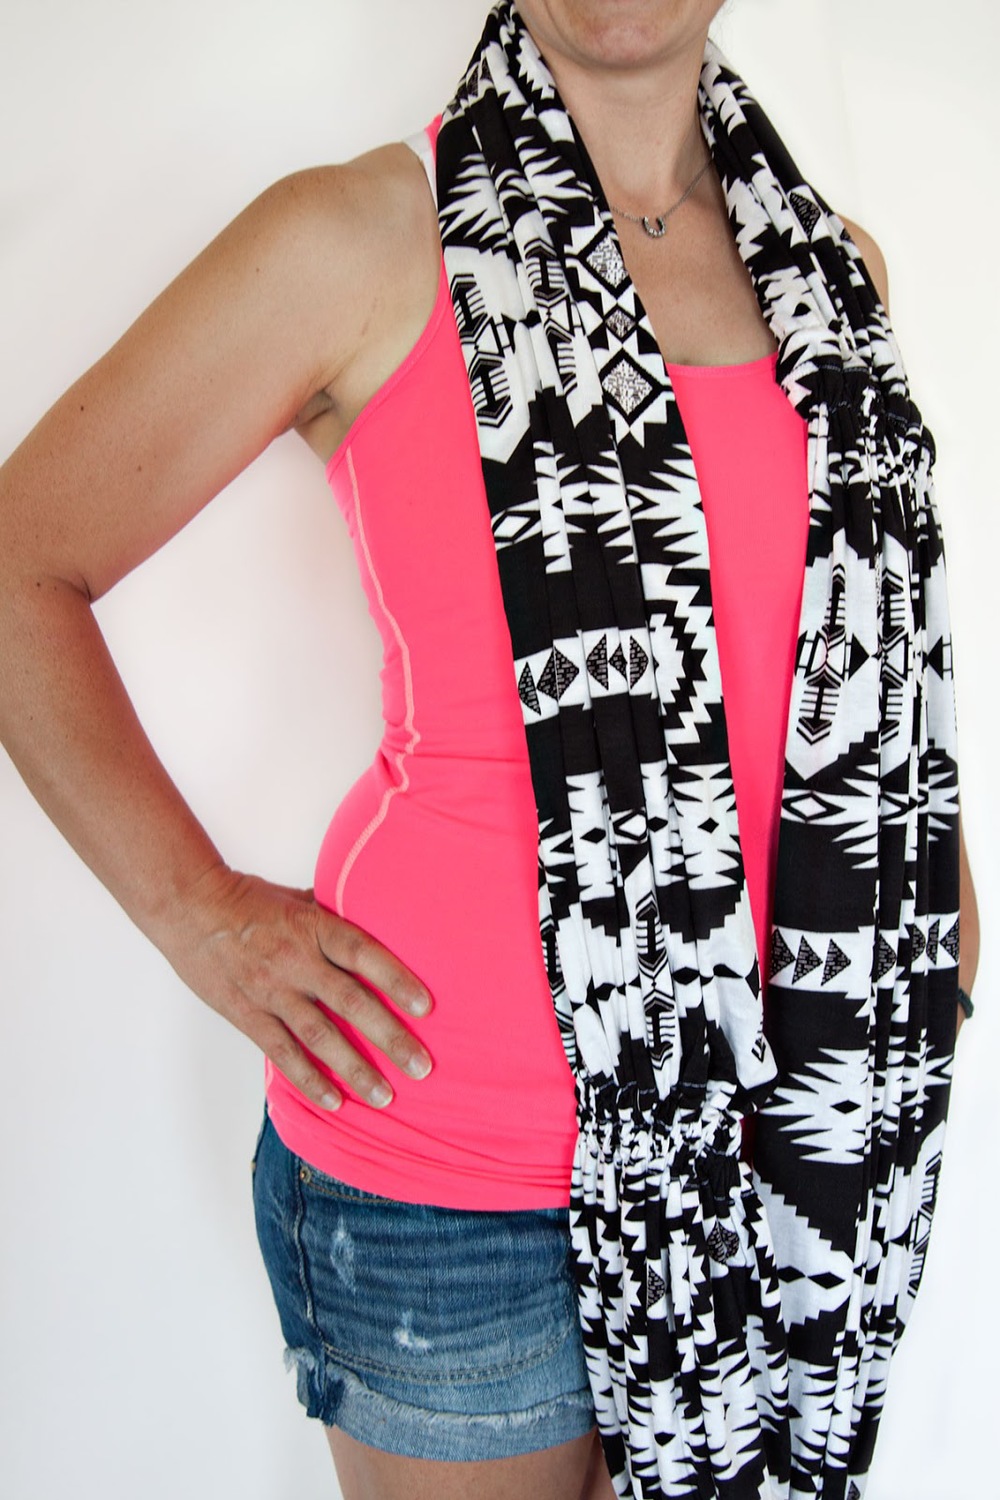
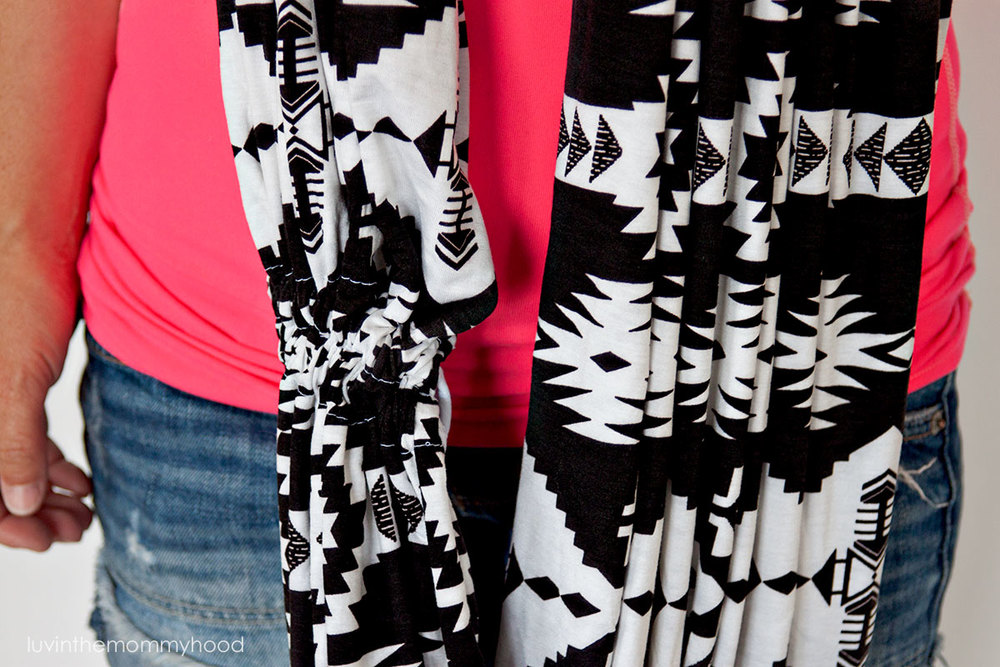
RUCHED....


you ready to sew with me? yahoo! let's get those knits ready!


TIPS FOR SEWING WITH KNITS
Sew with a straight stitch suitable for knits with your machine. I like to go up about 2 numbers in length for my machine. You could also use a zig zag stitch or choose to do a zig zag stitch and a straight stitch together to reinforce it. You could also use an overlock stitch on your machine if you have one. And if you have a serger just use that :) I also recommend if you are sewing with a regular machine to use a needle for knits. Trust me on that one. It helps tons. You can use any of these methods in the tutorial below.
CATE'S COWL TUTORIAL
MATERIALS
- 2 yds stretch fabric (I used a black tribal print that was a cotton jersey blend (it's sold out sorry) from www.girlcharlee.com)
- coordinating thread
- stretch needle for your machine (optional)
- long pieces of ribbon or elastic (optional)
- rotary cutter with mat or scissors
INSTRUCTIONS
STEP ONE - CUTTING OUT YOUR TIES
*NOTE: IF YOU ARE USING RIBBON OR ELASTIC PLEASE MOVE ON TO STEP TWO.
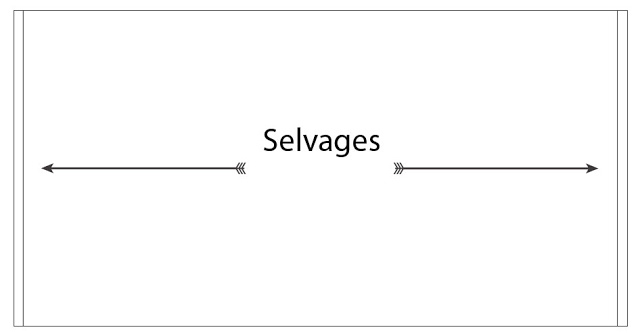
Cut 2 strips of fabric 2"W x (height of your yardage) along the entire side edge of your fabric (I used my selvages for my ties). When cutting your fabric you should have your selvages running along the left and right side of your fabric. These pieces of fabric will be your ties for your cowl. *See diagram above.
STEP TWO - SEWING YOUR COWL
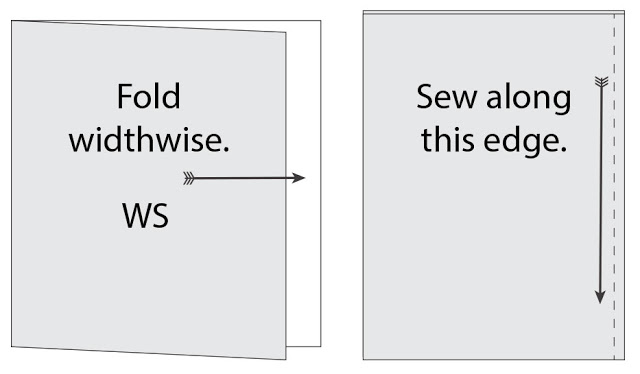
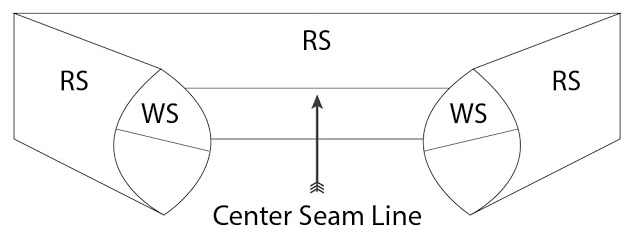
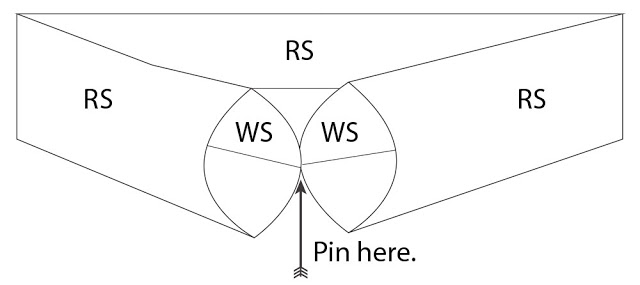
Now this sounds harder than it is. It's actually quite an easy step but I know a lot of people get stumped at this step. So for those of you who are visual here's a great video by the crafty gemini that you can watch to see how to sew this portion of the cowl. If you go to about 4minutes in you will see the process that I have just explained.
STEP THREE - ADDING YOUR TIES
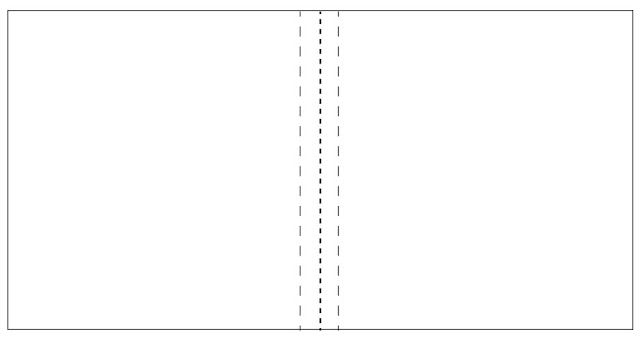
Now keep your cowl right side out. Sew along the left side of your side seam (the one you just sewed) with a 1" seam allowance taking care not to sew the other part of your cowl. This will create half of the channel needed for your ties. Repeat for the other side of the original seam. Then top stitch on top of the seam line of your side seam while also carefully folding under a 1/2" seam allowance for your opening that you had left open shut when you get to it. This will create 2 channels. *See diagram above.
Now find the center of the other side of your cowl. Sew a line down the center. Next sew two lines spaced 1" apart on either side of the line you just stitched. You will now have 4 channels in total - 2 running down each side of your cowl. 2 on your left side and 2 on your right side.
Using your seam ripper or scissors gently and carefully cut open the ends of each of your channels ONLY.
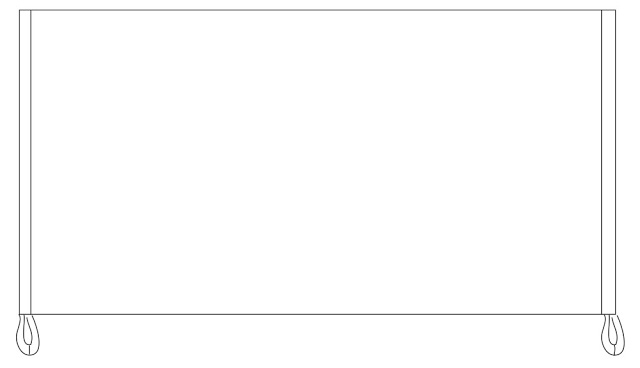

I kept my 2 strips really long until after feeding them through my channels. Once feeding them through you only need the strips to be as long as your cowl is fully opened (not ruched). Trim them and stitch the ends of the strips together. Repeat this for your other set of channels. Trim your seam allowances nicely and pull the ties so the sewing seam is hidden inside the channel. Now ruche to your hearts content! *See diagram above.
STEP FOUR - WEARING YOUR COWL
The options are so fun here! Wear your infinity cowl long and single looped with no ruching, or pull the ruching for a different look entirely! Or switch it up and double wrap your cowl with the ruching or no ruching as well! Cate's Cowl is soft, cozy and like your best friend - there for you every day!!! So whatcha waiting for? Go make one....heck make 3! You'll wear them...I promise!


happy sewing! i hope you enjoy the tutorial! make sure to upload pics of your projects in our flickr group so i can see your lovely cowls! xoxox