KAPSEL CARDIGAN
TIPS, VIDEOS + MODIFICATIONS
KAPSEL CARDIGAN
Are you looking to make some small adjustments to Kapsel to fit your frame? Need help getting gauge or working your German Short Rows? We've put together this handy page to give you some guidelines on how to easily modify Kapsel, and how to best achieve gauge and execute perfect German Short Rows. Please note that you will need to have purchased the pattern to access these tips and tricks - you can purchase Kapsel HERE.

KAPSEL ADJUSTMENTS & MODIFICATIONS
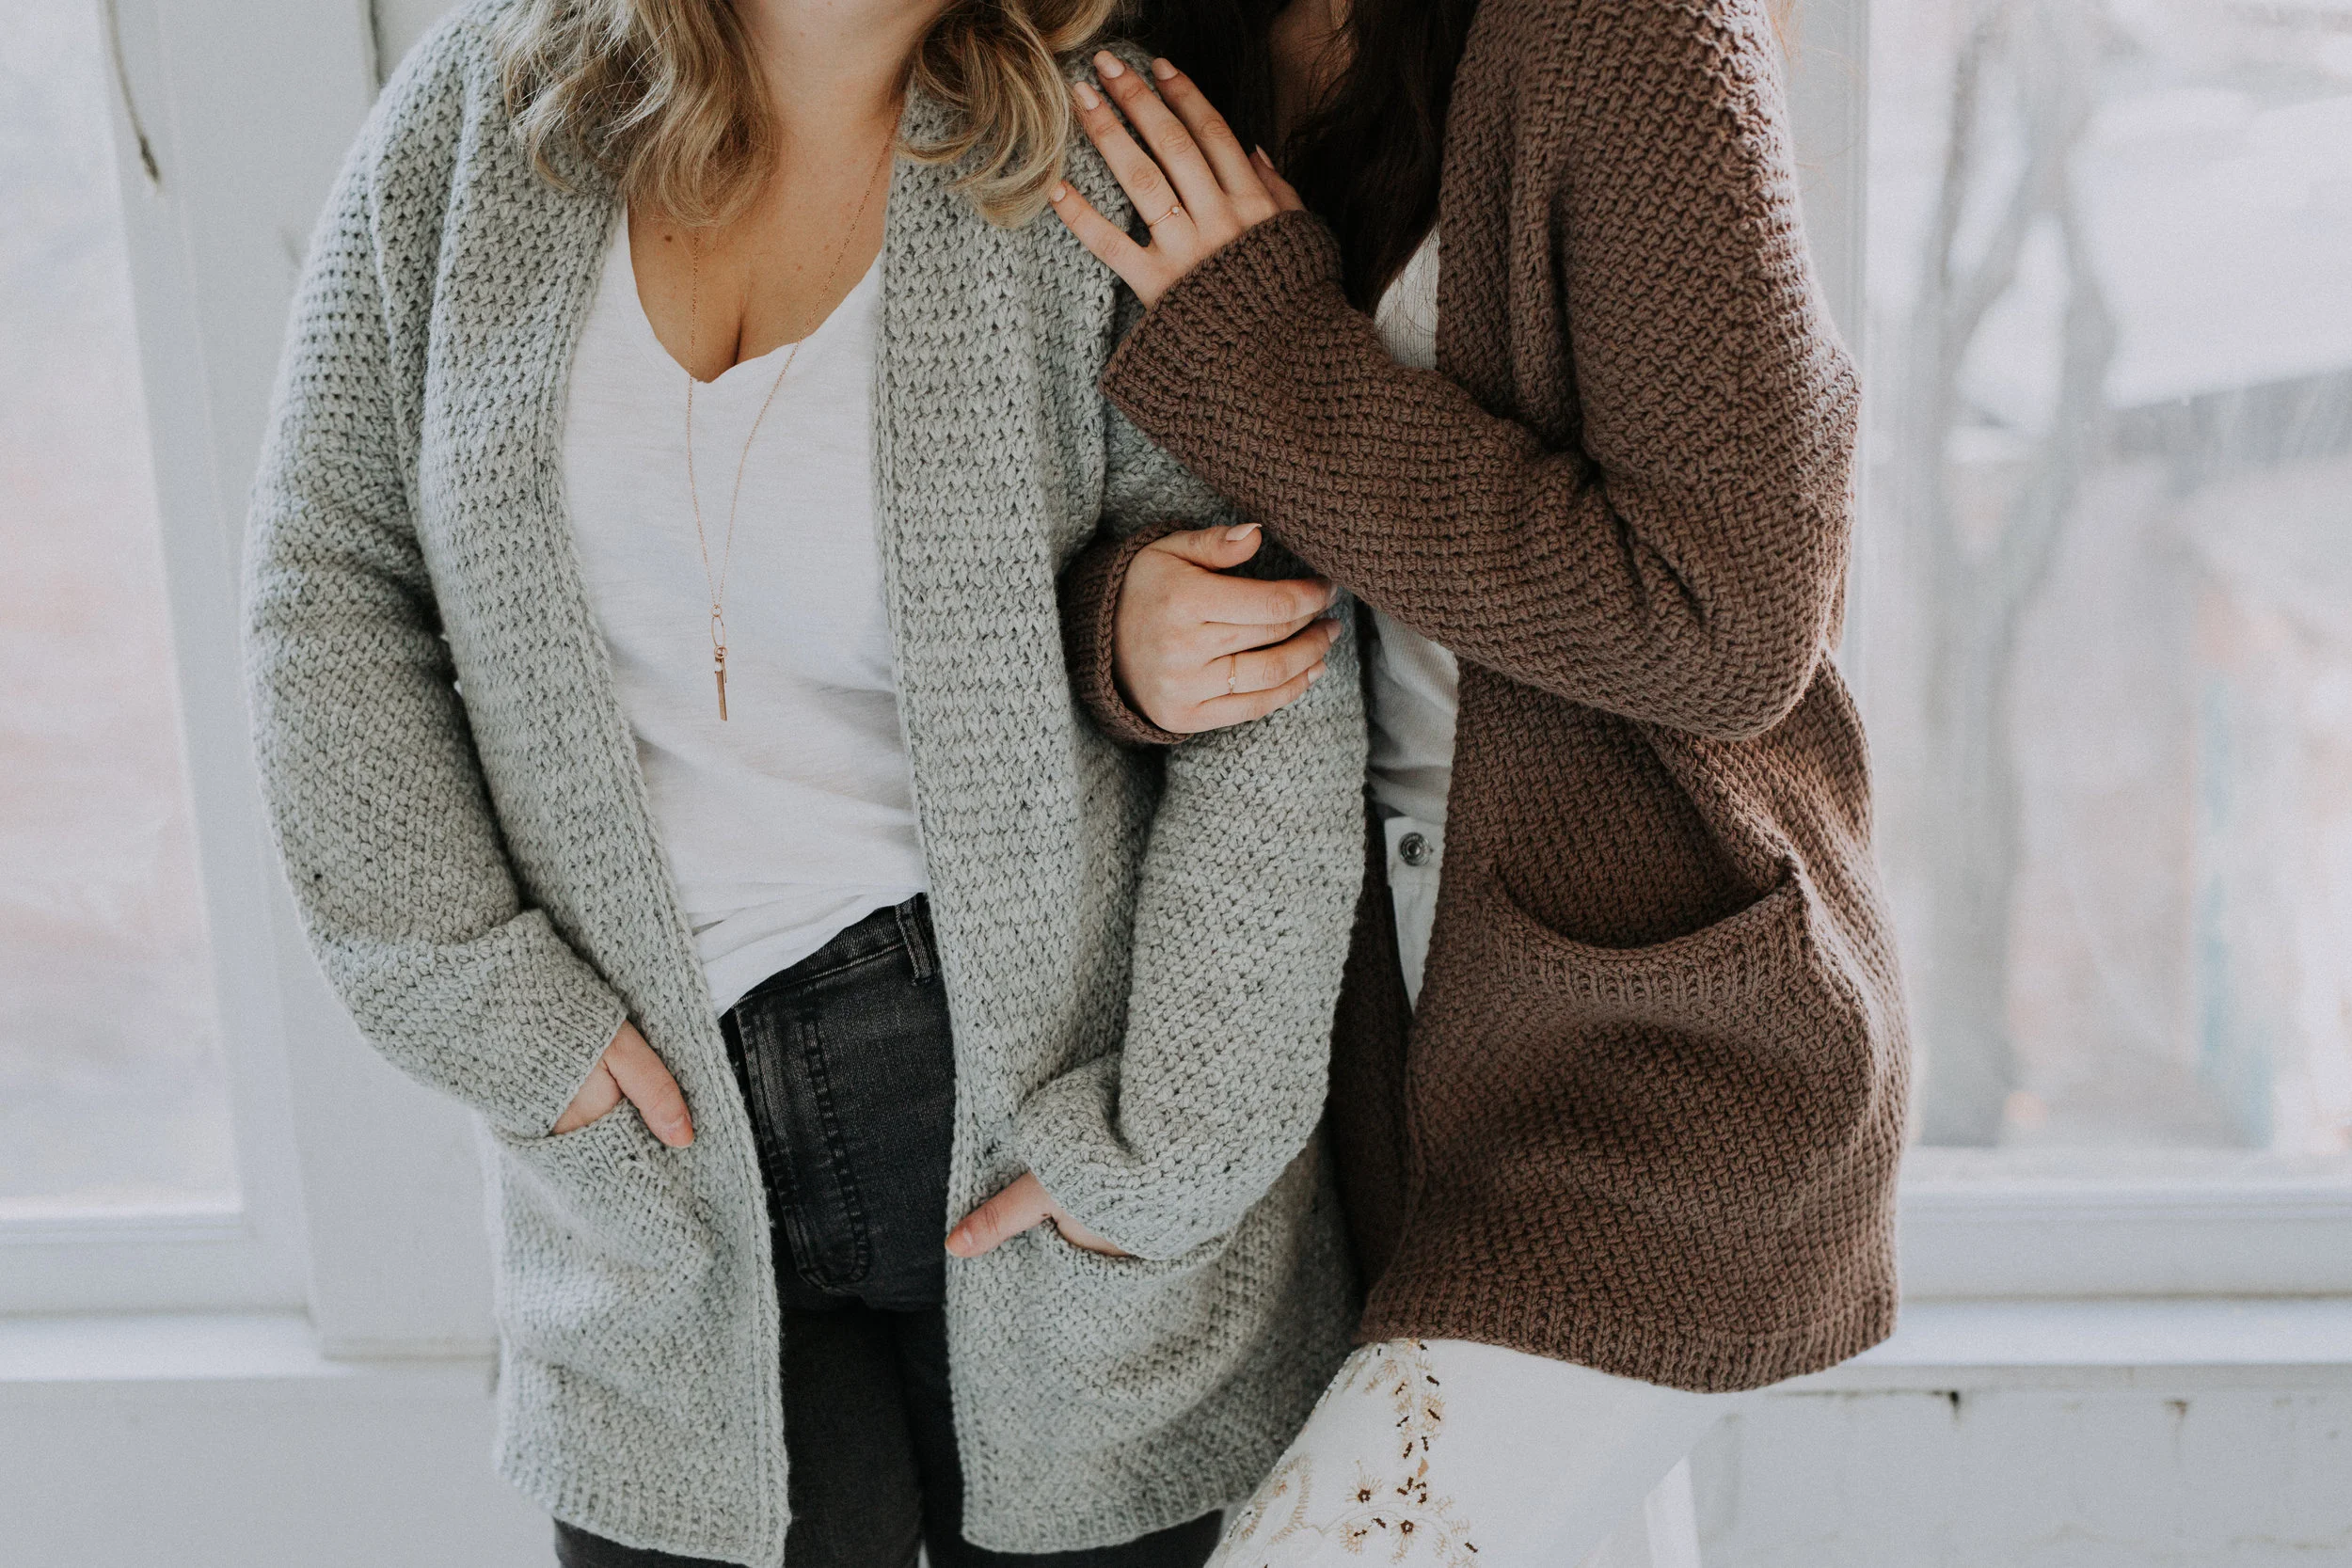
Kapsel is a modified drop shoulder cardigan with large front pockets knit from the bottom up. The construction of this garment removes some of the excess fabric that is traditionally found in the upper arm area of a drop or modified drop shoulder sweater. The front edgings are worked as a part of and at the same time as the body of the cardigan until eventually they are seperated and worked individually and then joined/seamed to the back neck. This back neck construction is comfortable and allows the sweater to hang nicely without slippage.
Below you will find videos showing you how to work the German Short Rows while maintaining your stitch pattern as well as resolving the short rows in stitch pattern. There is also a quick video showing how the main stitch pattern is worked (heads up….I am a thrower not a picker…lol).
You will also find some handy tips on how to style Kapsel and choose your size below! I hope you find the information helpful. If you still require pattern support please email me at askveryshannon@gmail.com.
Be sure to show off your Kapsel Cardigan using hashtag #kapselcardigan on social media! We can't wait to see it!

CHOOSING YOUR SIZE
When choosing your size for Kapsel, first look at your full chest measurement and see where it falls in the range of sizes. Pick the size closest to your full chest measurement then flip to the pattern schematic to see the finished measurements for the garment in the selected size. You want to check that your hip circumference will fit comfortably into the size that you have chosen. Kapsel has approximately 9-10” of positive ease written into the pattern. This means that if you are a size 40” chest, for example, your finished chest and hip circumference are both 49.75”. There is no waist/hip shaping in this garment as it is intended to be worn with positive ease.
If you do find yourself needing two different sizes for your garment, you can easily go up a size for your hip and still be happy with the fit on your upper body. The style of this cardigan is very forgiving and allows you to play around in the range of sizes. Please note that if you do work a larger size you should take care to note where the end of the sleeve will hit you. You may find that you need to shorten the length of the sleeves to accommodate your frame because you will have a greater drop at the shoulder with the larger size.
For reference in pictures shown here and in the pattern, our lovely model, Aisling, is wearing the size 34 and is 5’9” with a 34” bust and a 35.5” hip circumference. I am wearing the size 40, and I’m 5’4” with a 41” bust and 44” hip circumference.

LENGTH MODIFICATION - ADJUSTING FOR HEIGHT
The length of Kapsel is quite simple to modify, but due to the placement of the pockets I strongly suggest you take care as to where you remove/add extra length. I would suggest not making any modifications until checking the finished measurement schematic and looking closely at the measurement for underarm to hem.
The greatest concern in regards to the modification of the length is the pockets. We all love pockets but nobody wants a pocket that’s so low you can’t reach it. I suggest if you would like to modify your length to be longer/shorter that you measure on your body where you want your pocket opening to hit and write it down (or alternatively you could take a favourite sweater and measure where the pockets hit your body while wearing it). As written, the pattern has a pocket opening located at 8.5” from the hem cast on.
You also want to take into account the finished length of the pocket and that it will have room to be seamed down without hitting the bottom hem ribbing.
That being said, you can still easily modify your length. If you choose to do so the best area to do this is in between the top of pocket to underarm area but within reason. If you are adding more than 1-2” of length I would suggest splitting this up and adding 1-2” in this area and then placing the rest of the length extension before you even work the pocket opening (after your hem but before your pocket opening). This is again - to prevent wonky pockets.
You also want to try to always add/remove length using full stitch pattern repeats if possible. This is so you don’t have to modify instructions for any important parts of the pattern. There are instructions given that tell you where to end your stitch repeats for this reason.
If you find yourself wanting to remove length between the underarm and the top of shoulder please do this only in the work even area before you start your shoulder shaping. Your shoulder shaping is comprised of short rows and it will be much more complicated to alter. There is wiggle room in the work even section right before the short row shoulder shaping it if needed, but this should not be necessary.

THE GAUGE & WHY IT CAN BE TRICKY
The main stitch pattern used in Kapsel is not hard. It is a very easy to memorize 4 row repeat with all right side rows just plain knitting. Gauge can be tricky due to the slight variances among knitters in the row gauge. There are a few things that can affect the row gauge of this stitch. Some helpful swatching suggestions are shown below:
DO NOT use garter stitch as your swatch edgings. Instead we suggest using the actual 4-stitch slipped edging that comprises the front edges of your cardigan. This is simply the following: RS: [Sl1p, p1] twice. WS: Purl. This will allow the stitch pattern to be measured most accurately. *Abbreviations are listed in pattern. Note: When working your Sl1p take care to keep your tension even for the slipped stitch throughout your swatch and your cardigan; you don’t want it to be too loose or too tight. It should not look any different in height than the rest of stitches in your rows.
DO NOT combine swatches. Be sure to knit all your gauge swatches separately! Your Beaded Rib and Stockinette stitch swatches should all be separate swatches - as well as your Purl Twist - so there is no interference with measured results. All your gauge swatches are very important for this cardigan to achieve a successful fit. We suggest a swatch with a minimum size of 4” but preferably 5 - 6” in height and width.
DO be aware of where on your right hand needle you are working the final part of the p2tog-p1. You may be tempted to work the final p1 on the very tip of your needle - try to avoid this as it does affect row gauge. Work the whole stitch, including the p1, using the main part of your needle - not the tip.
DO watch your tension. This stitch should be relaxing. It takes a few rows to get the hang of it, but you shouldn’t be holding your tension super tight. It should flow as if you were just working regular p2tog across. Don't worry about perfection here. Just relax into it. The fabric should have drape - not be stiff.
DO check your needles. Some testers noticed big gauge discrepancies between using wooden and metal needles. The metal needles resulted in more accurate gauge.
HOW TO ACCURATELY MEASURE YOUR GAUGE
Here’s how to properly knit your swatch and count your gauge.
When working your Purl Twist gauge swatch always, always, always record exactly how many rows you worked in total for your swatch before measuring. This is very important. The rows of this stitch pattern are hard to count accurately just by looking. You need to record the number of rows as you work them.
Once you have worked an appropriate length to measure from (we recommend 5-6” minimum) measure the entire amount of Purl Twist worked - not just 4”. We are going to calculate your gauge from the entire swatch. Here’s your math:
If your swatch measures 5” and you worked 32 rows you would then divide 32/5 to get 6.4 rows per inch. We round this to the nearest .25 which is 6.5 sts per inch.
The basic formula is: height of swatch ________ divided by ______ rows worked equals ______ rows per inch.
To find your 4” row gauge you would then take your _____ rows per inch and multiply it by 4 = ______ rows per 4”.
When rounding always round to the closest .25”. Don’t use .5, and don’t round until you have reached the end of the equation.
You will do the same above math for the stitch count portion of your swatch as well.
The basic formula is: width of swatch _______ divided by _____ number of stitches cast on worked in pattern stitch (not counting your edges) equals ______ sts per inch.
To find your 4” stitch gauge you would then take your _____ stitches per inch and multiply it by 4 = _____ sts per 4”.


HELPFUL VIDEOS
PURL TWIST STITCH VIDEO

How to work the Purl Twist stitch used in the Kapsel Cardigan by Shannon Cook.
WORKING GERMAN SHORT ROWS IN PURL TWIST

How to work the German Short Rows in the Purl Twist stitch used in the Kapsel Cardigan by Shannon Cook.
RESOLVING GERMAN SHORT ROWS IN PURL TWIST

How to resolve German Short Rows worked in Purl Twist stitch used in the Kapsel Cardigan by Shannon Cook.
THANK YOU
Thank you so much for your support of KAPSEL. I hope you enjoy knitting and wearing this cardigan as much as I do! I truly hope that Kapsel fits effortlessly into your wardrobe and that you feel both comfortable and fabulous when wearing it. xoxoxo Shannon
